Table of Contents
Among the items found in offices, one of the most frequent ones is the printer. These items are usually understood to have scanning capabilities as well. This helps in storing various media virtually be it documents or pictures. One such is HP Officejet 4620, a decently famous printer. However, all of these items can end up malfunctioning. The issues that appear can vary from slightly inconvenient to breaking key functionalities of the device. Some of the resolutions can be very easy, some of those are laid out below for you to try out.
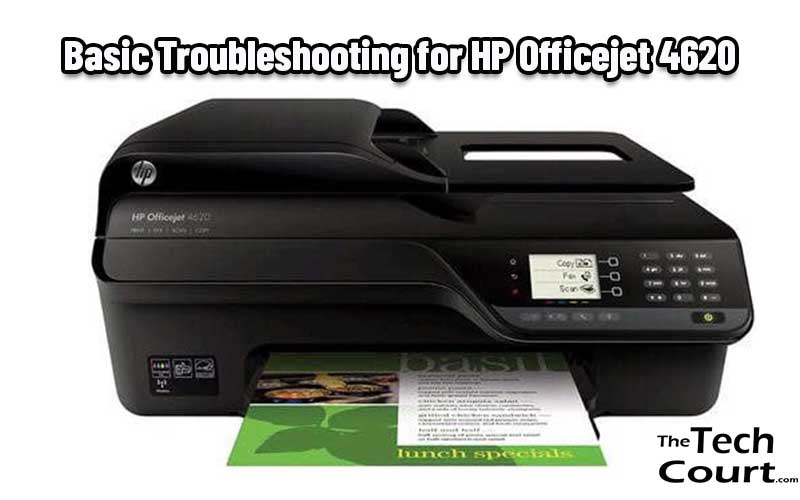
Basic Troubleshooting for HP Officejet 4620
Reset To Factory Settings
For your HP Officejet 4620 printer, the reset to the factory settings requires a few steps. First, make sure your printer is turned on. After that, you should press the Home key, followed by the Back key, and then the Home key twice. Now the display will show Engineering-Menu. From there, select Service Menu and then press left twice until Reset Menu is displayed. Once you get here tap Ok. Proceed left until you see “00BE Reset” and select it to reset the HP Officejet 4620 to factory defaults.
Run A Power Cycle
To run a power cycle on your HP Officejet 4620 you should first make sure the power cord is connected to the rear of the printer and is plugged directly into a wall outlet. Now that a reliable connection has been established press and release the Power button to start a Power On/Off-cycle. This can resolve plenty of problems that may impact the function of your printer, stuff such as the device being stuck. Further resolution of such issues can be solved by the clearing of the print queue.
Clear The Print Queue
The print queue may be causing issues with your flow of operations. This can be solved by canceling and clearing the print queue. First, you should try pressing the Cancel button, in case that doesn’t stop the queue try the following option to clear the queue. On the computer, your printer is connected to open the Run window by pressing the Windows logo key and R. Type “services” while in the Run window. Then scroll down to Print Spooler and right-click it. Select Stop from here and then delete all files from the “PRINTERS” folder that can be found by navigating to C:\Windows\System32\spool\PRINTERS. To finish go back to the Services window and restart the Print Spooler service by clicking Start in the left pane.
