Table of Contents
The printers such as HP DeskJet 3752 have the advantage of wireless connection. What it provides is a useful addition to the already potent device. One thing that’s required before running this useful aspect is setting it up. Although it may seem difficult at first, with all the unknown terms involved, it’s rather straightforward when put into more steps. The guide below should help you properly set it up and put the wireless setting to use quickly.
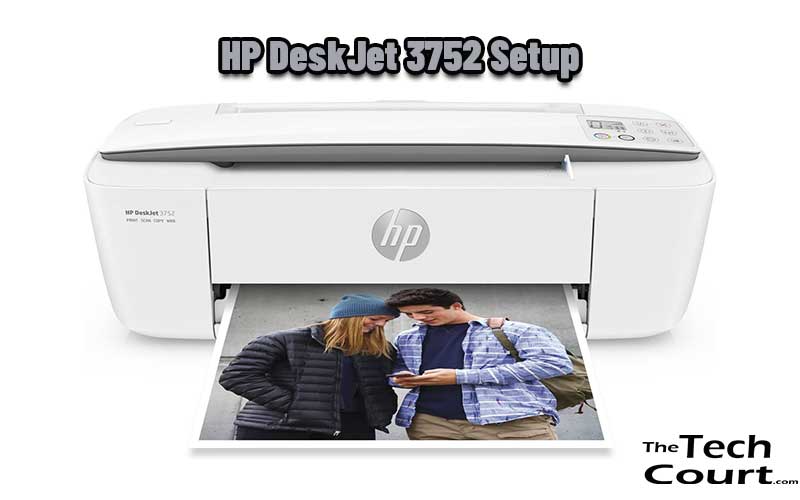
HP DeskJet 3752 Setup
Preparations
First, you’ll need to prepare for the installation itself. Make sure your computer is connected to your wireless network and that you have proper internet access. Turn on the computer and router and make sure the connection is established with the two. Turn the printer on and place it close enough to both the computer and the router, so that it can connect to the network.
Get proper software
Installing official software for the printer is important as this will ease setup, you can find the necessary software on the HP site. Additionally, any firmware necessities are also solved by this software.
Read next – HP Envy 4500 Wireless Setup
Establishing a connection
From here on, select the Add Device option and the WPS window will open. Then navigate to your printer and locate the WPS PIN. Enter the PIN on your computer and click Next to finish the setup. If the device doesn’t appear on the printer software you should select the My Printer Is Not Shown option, this will display the newly found devices. The Wi-Fi Direct will allow you to immediately open the list of printers in the Device Settings window. You’ll have to navigate to it first by opening Control Panel and selecting the Devices and Printers option. Choose the model of your HP printer with the DIRECT option available and mentioned in the name. From here on you’ll select Add Device button which will send you to the last step. In this last step, you’ll need to enter WPS PIN on your computer and then click the Next button once more.
Final tips
After these steps, the device will be set up and a connection established between the computer and printer. In case you encounter any issues during this process try going through the steps again, there might be a minor step you’ve skimmed over, or consult a list of troubleshooting options.
